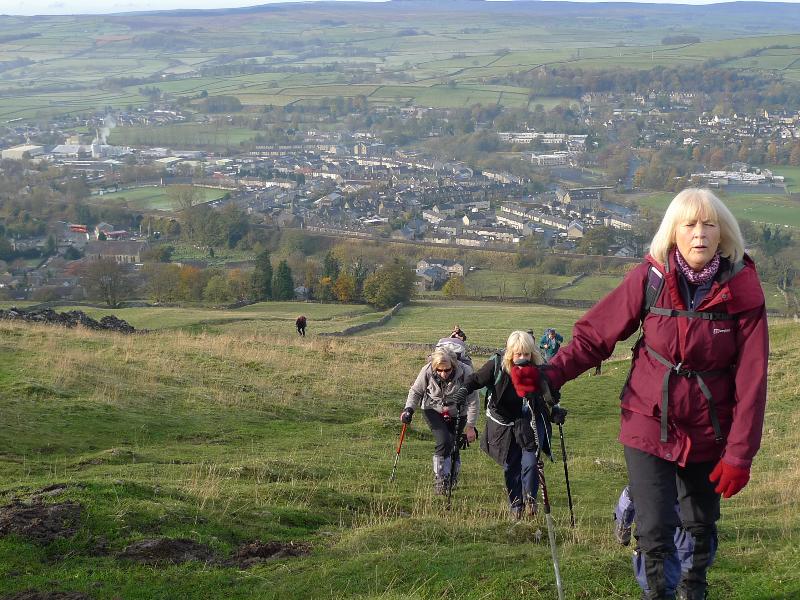
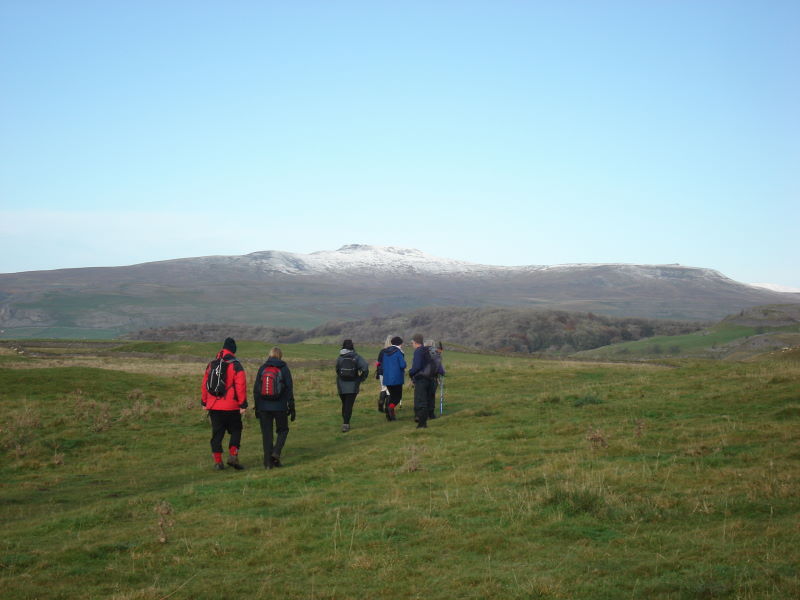
 .. a steep climb out of Settle,
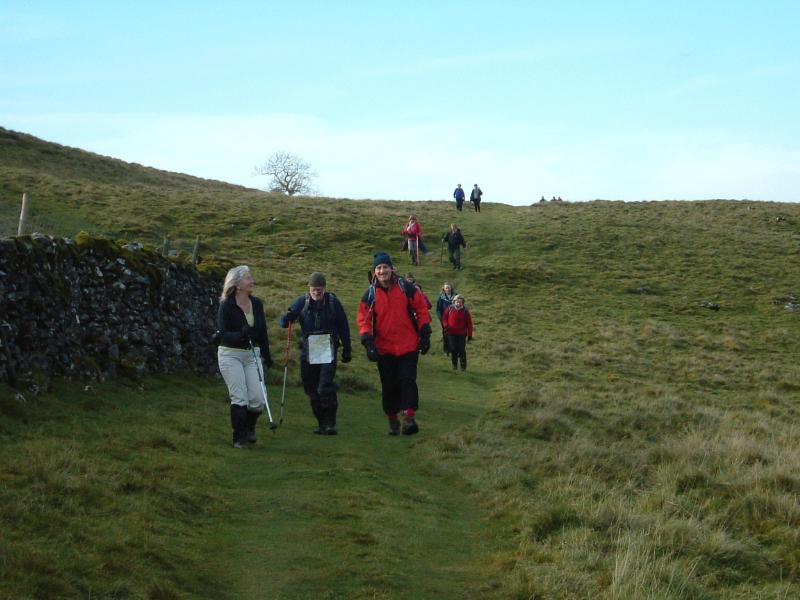
 with snow in the distance on the peaks.
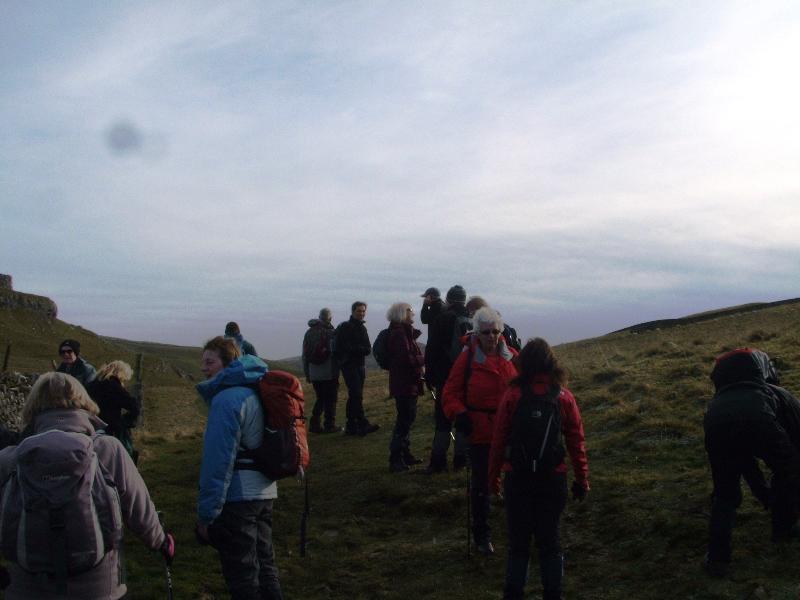 Taking a breather.
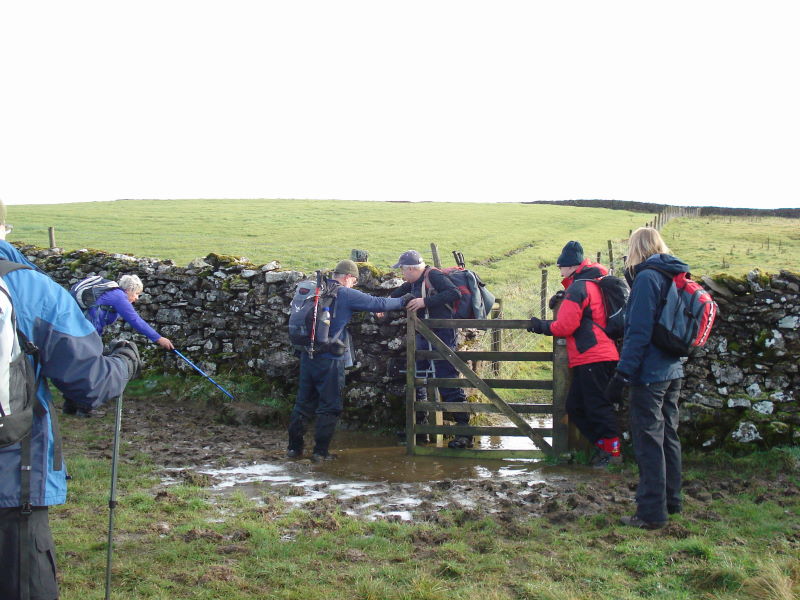
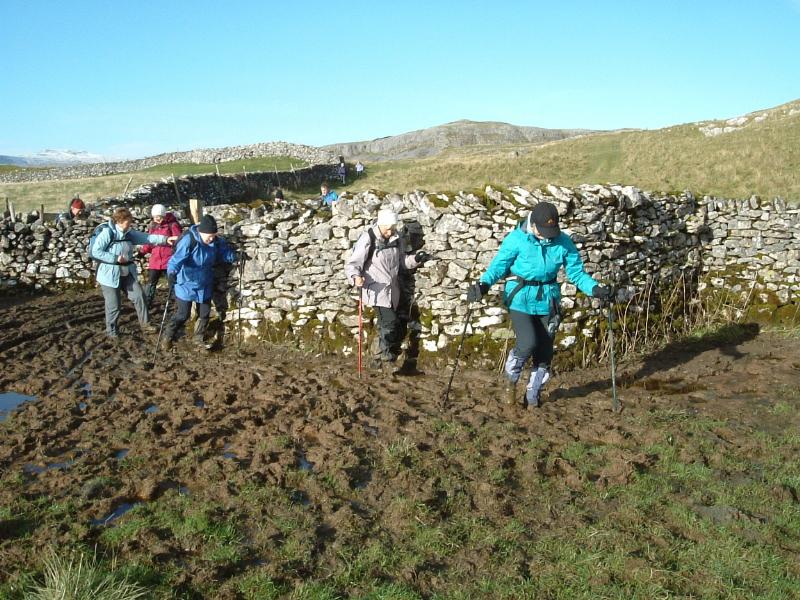
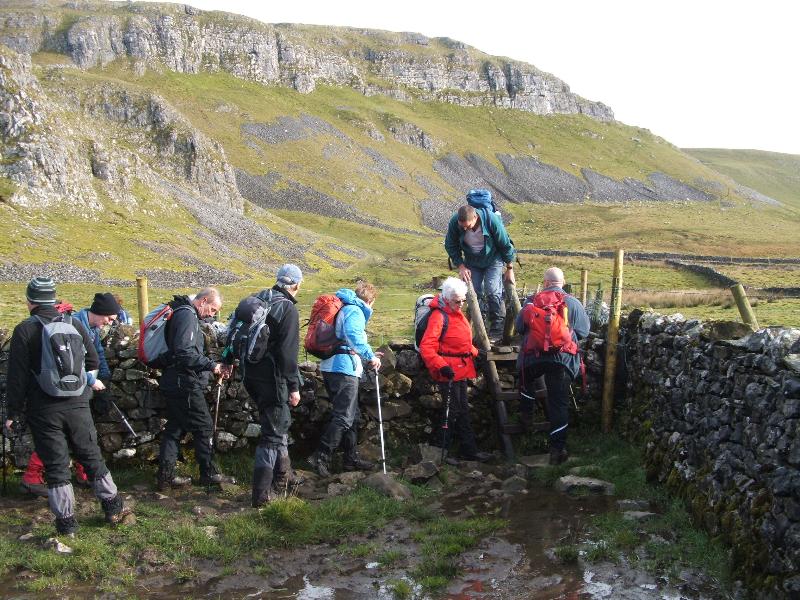 The first of many muddy stiles
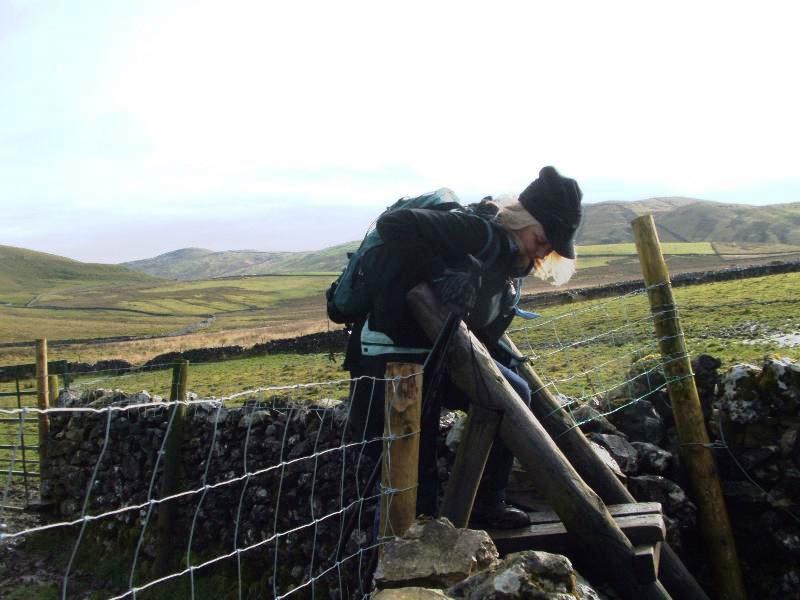
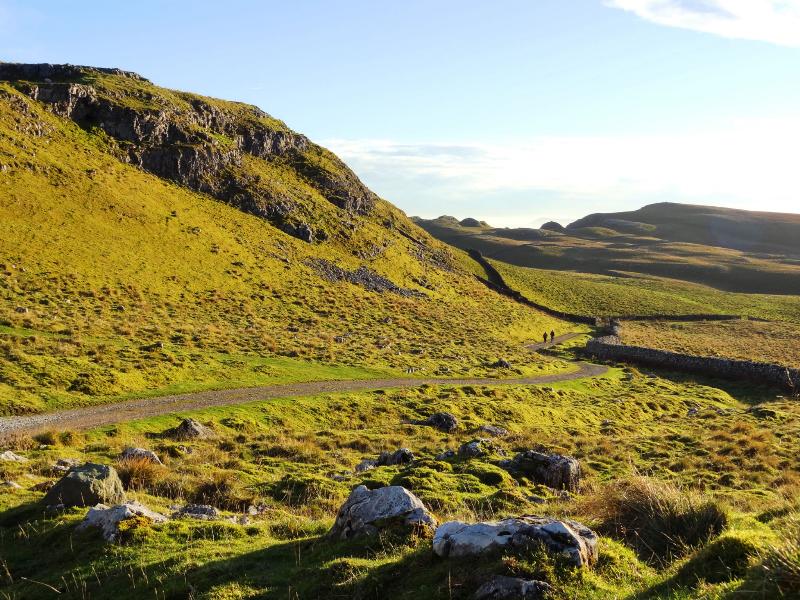
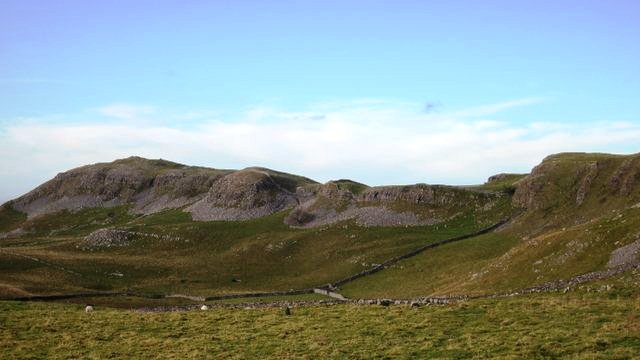
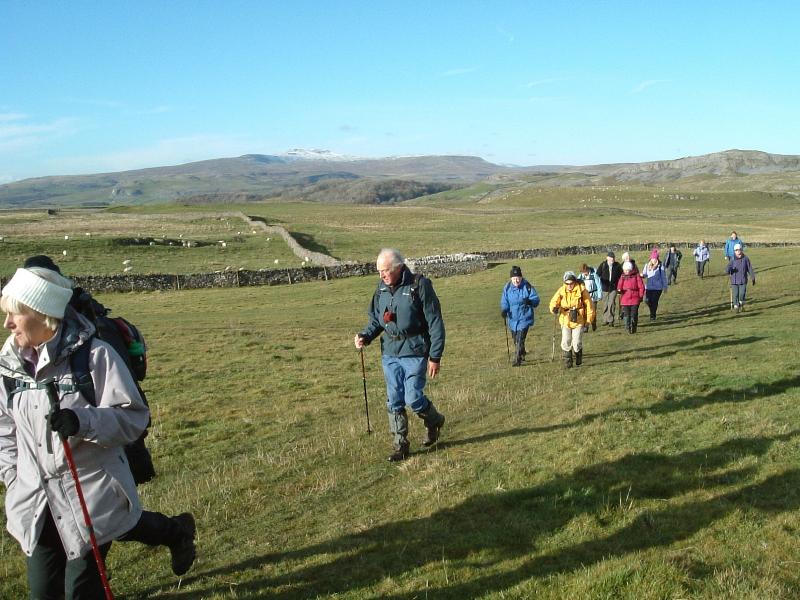
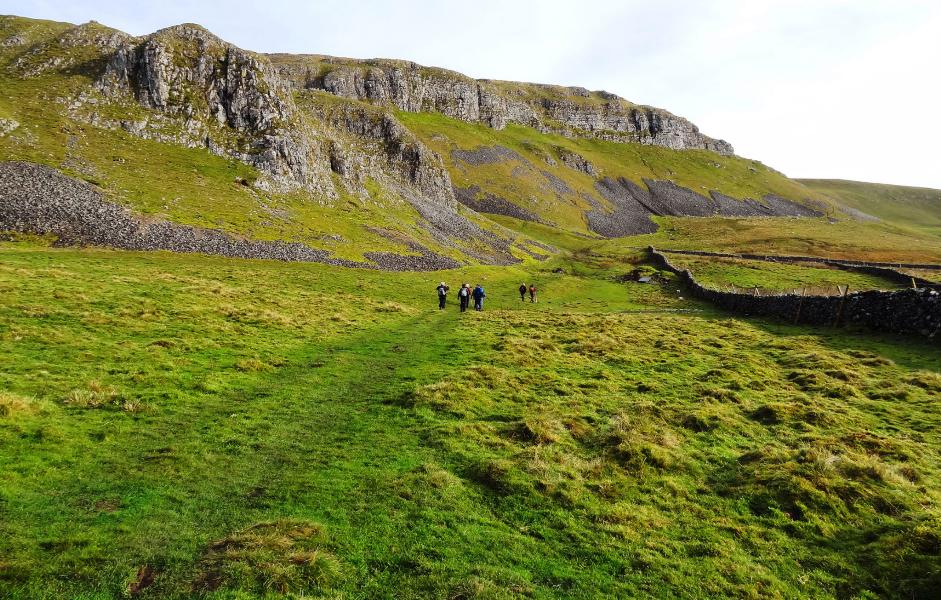 Approaching the Attermire pass
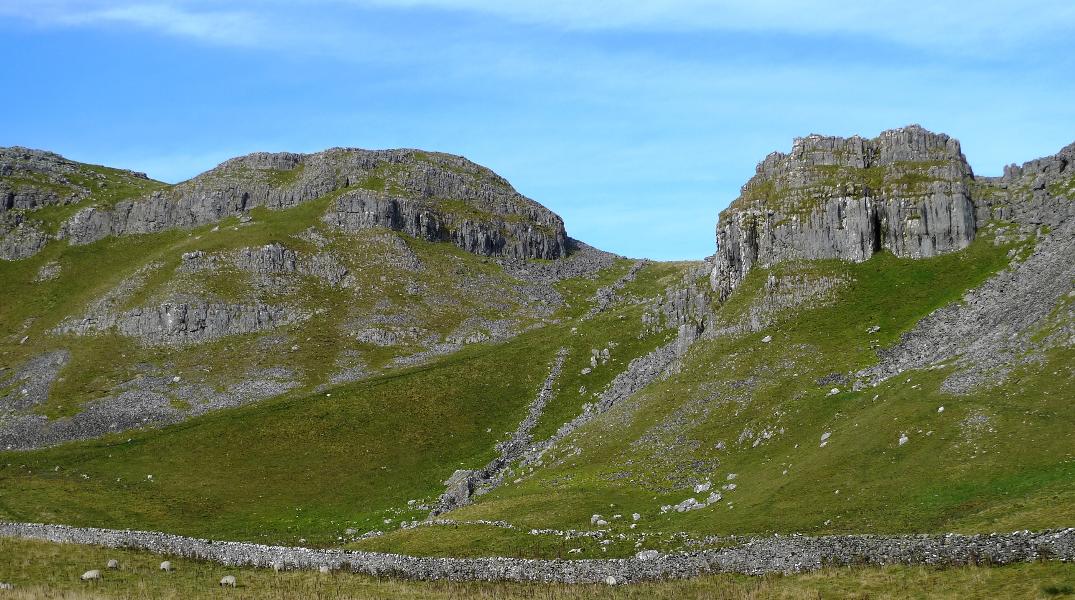 with Warrendale Knotts to the north
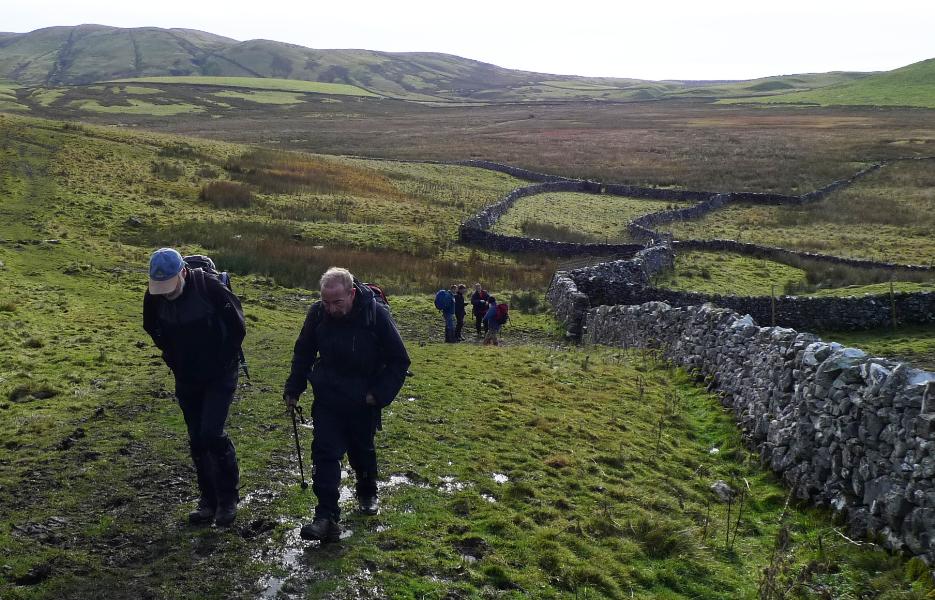 The B+ split off up the pass, and Derek reaches for his camera..
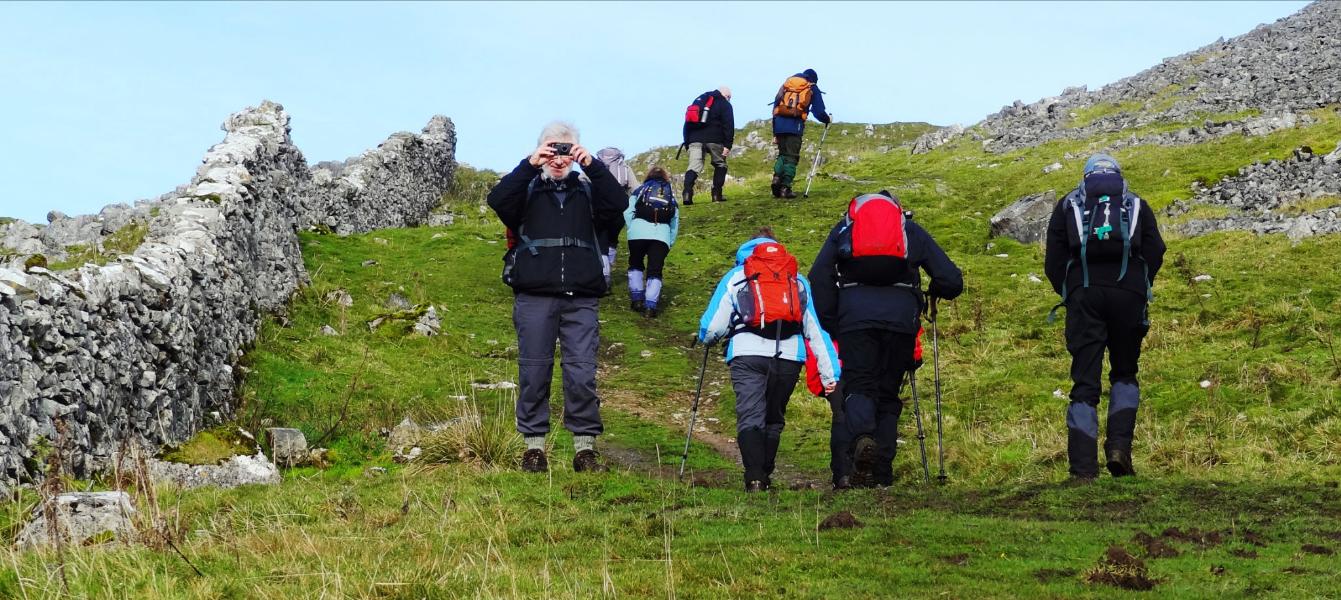 to grab this snap happy shot.
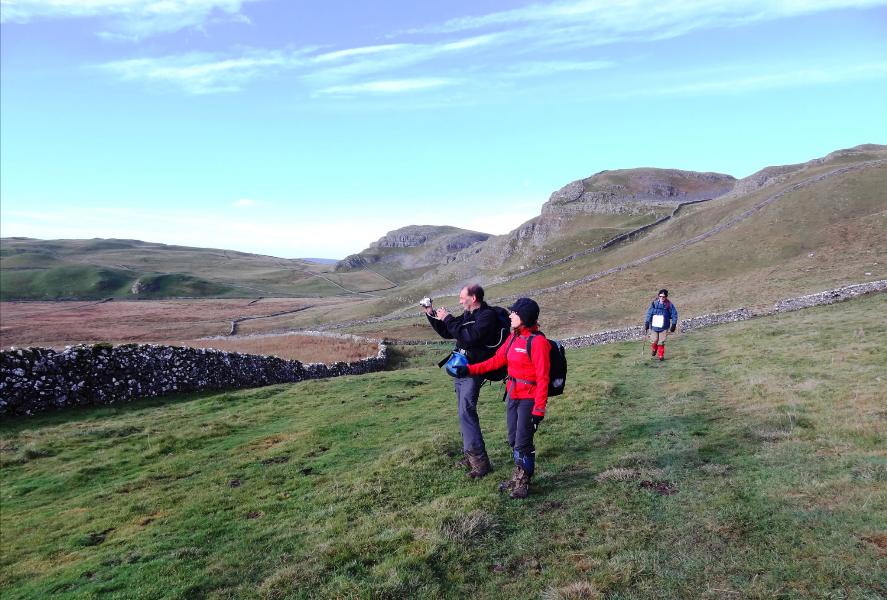 The As kept straight on
 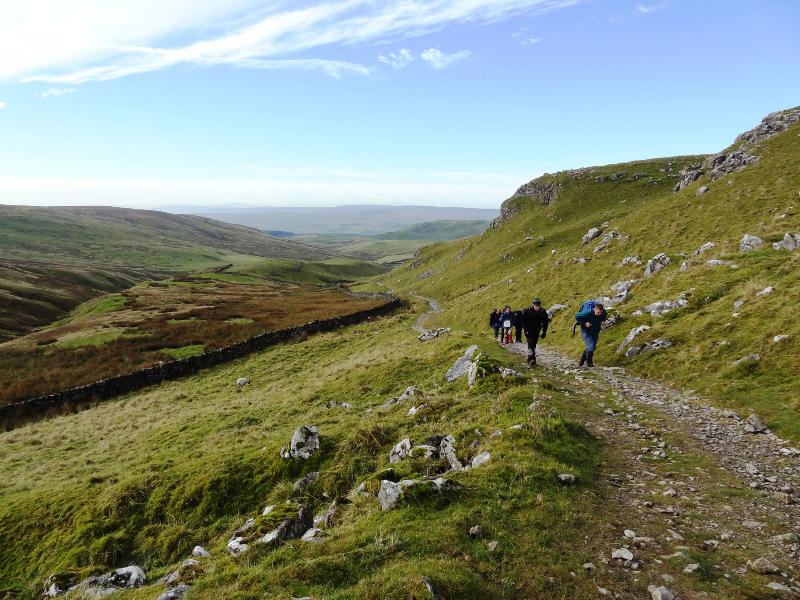 ..on the path to..
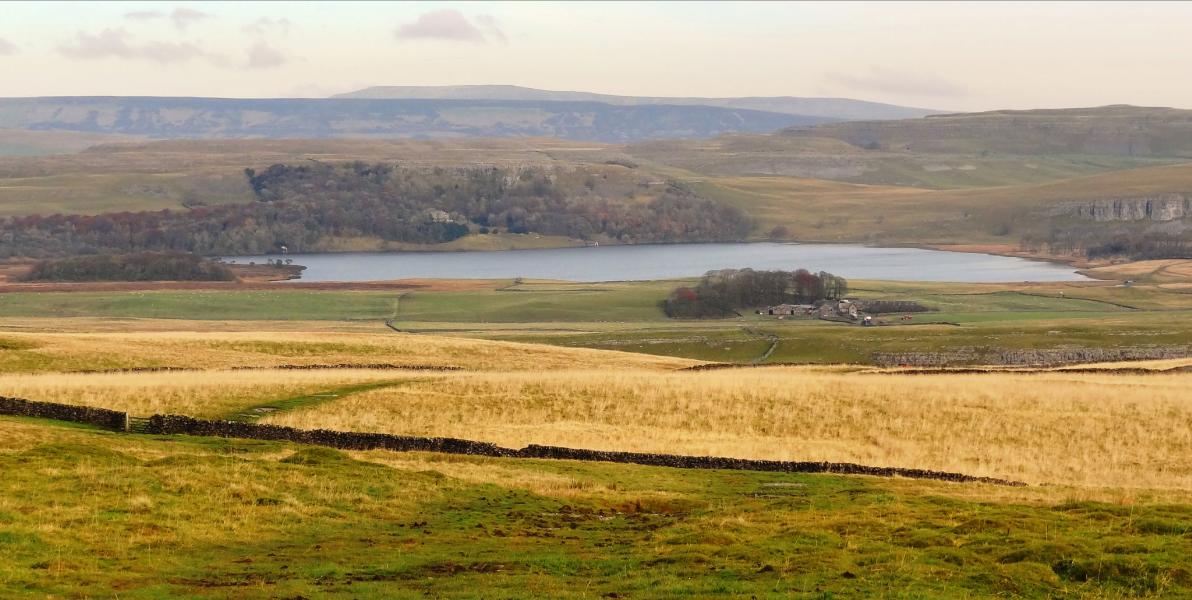 Malham Tarn
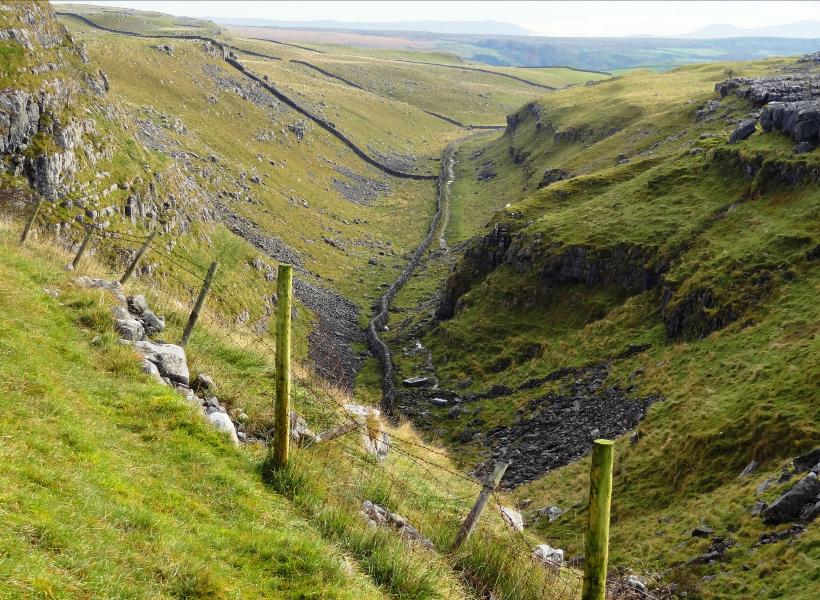 Dry Valley
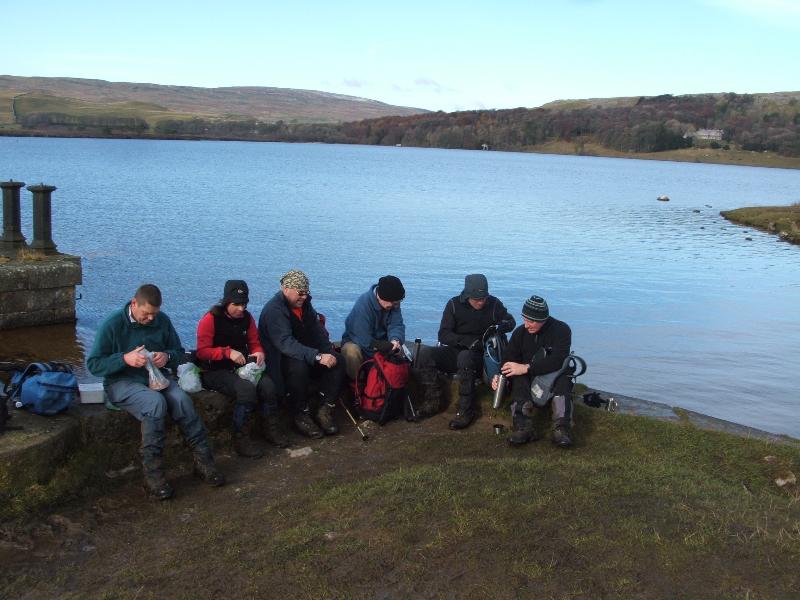 A chilly lunch stop..
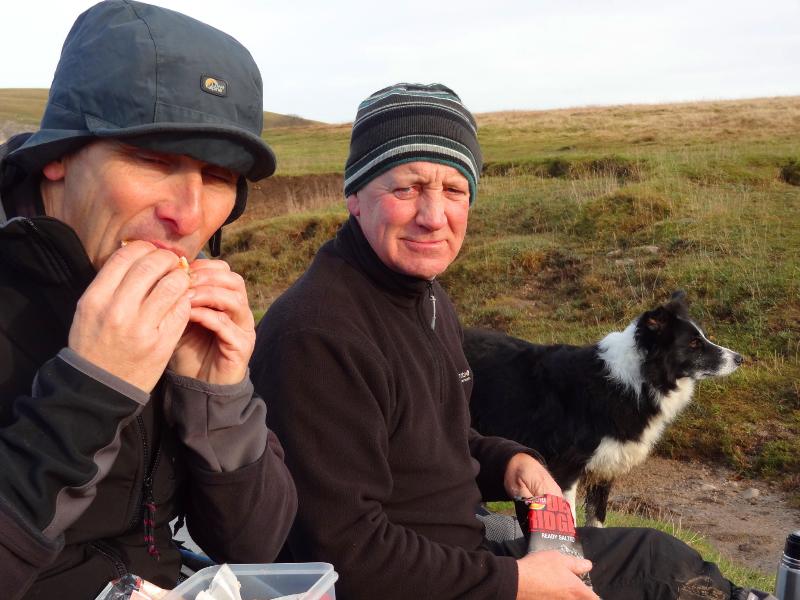 ..doggedly endured
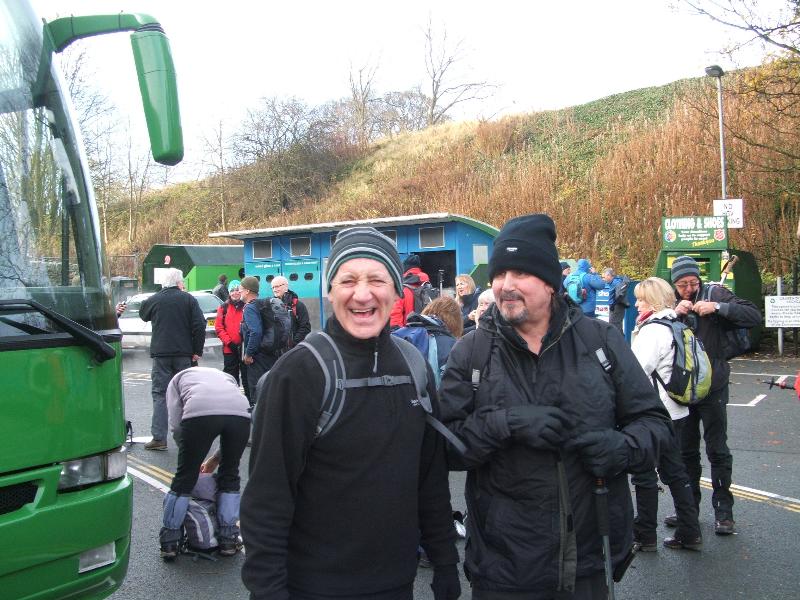
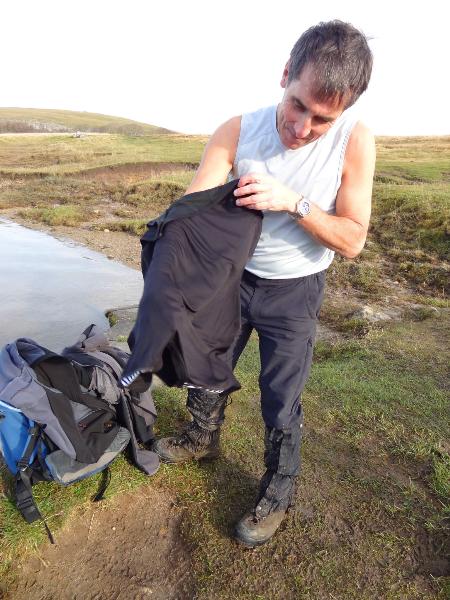 Tony Models the new Primark Range
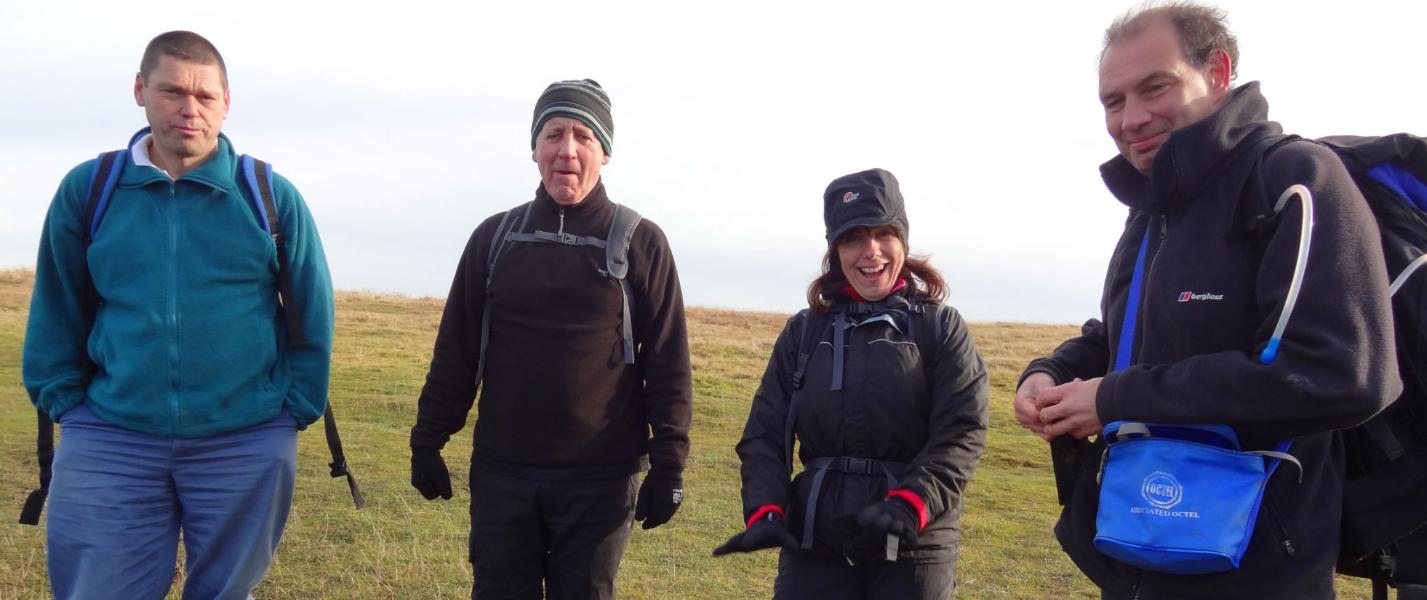 Freshfields Elite (apparently)
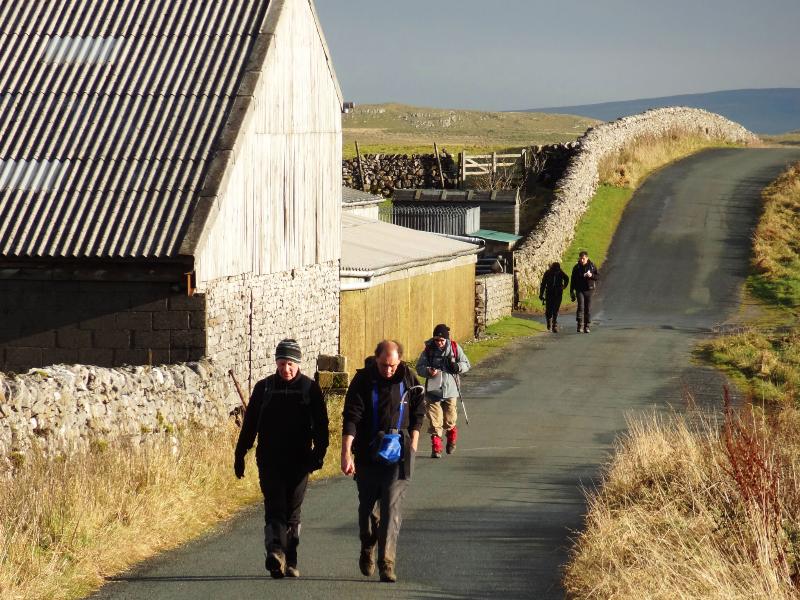 The road back
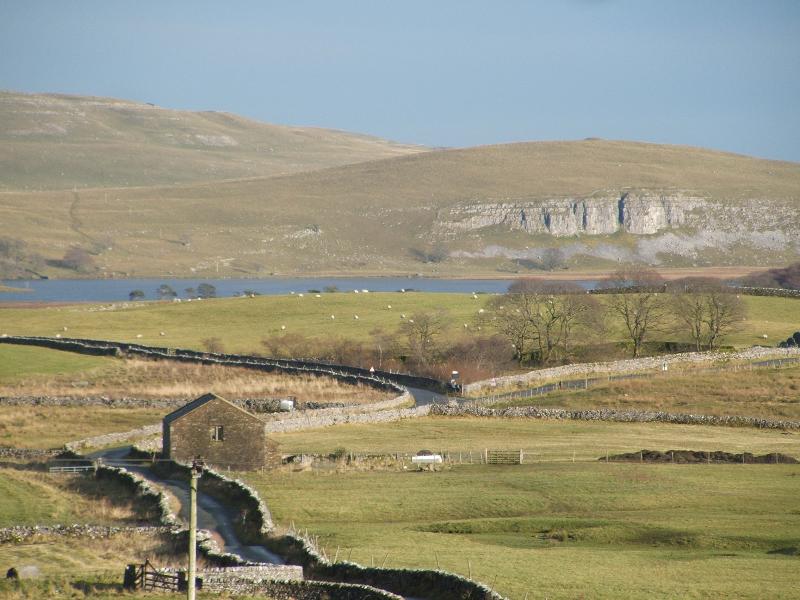 Leaving the tarn behind
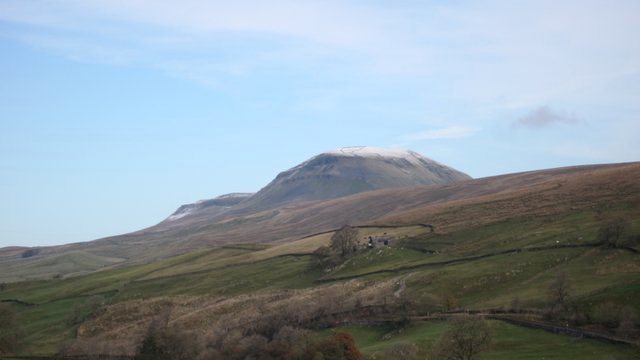
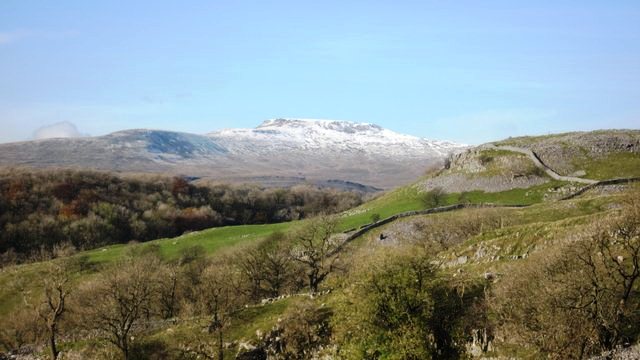
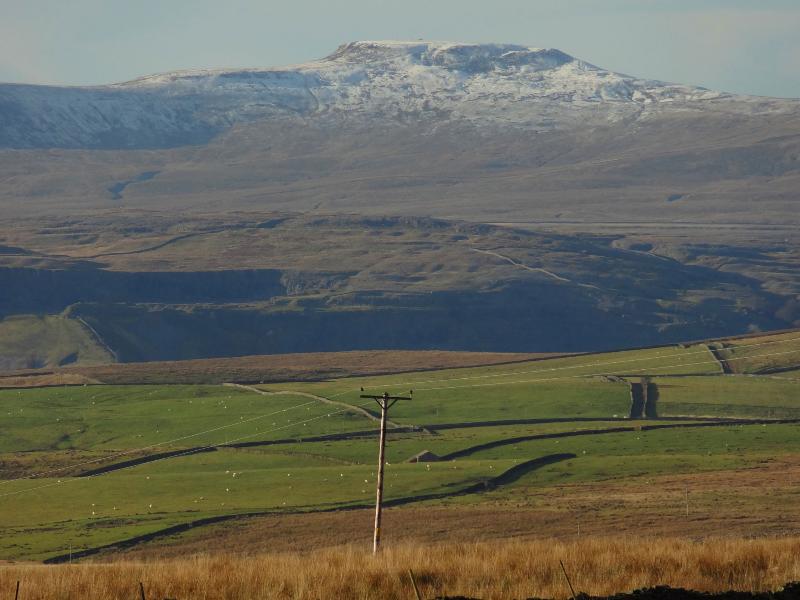 with views of Ingleborough
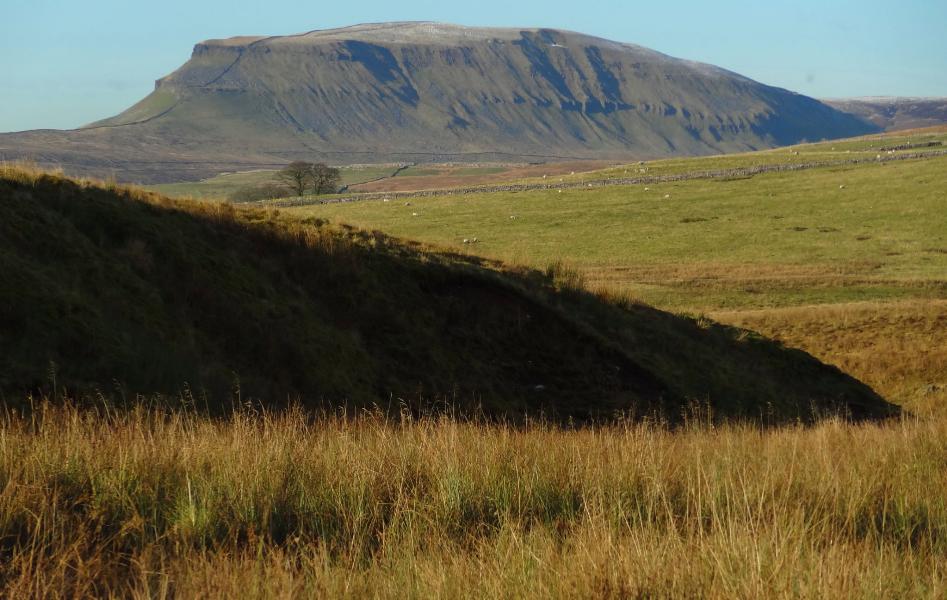 and Pen-Y-Ghent
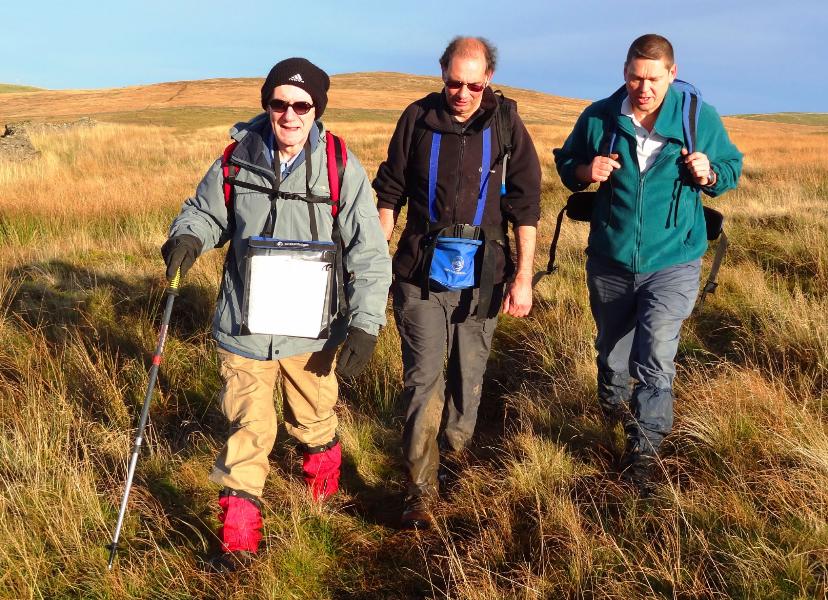
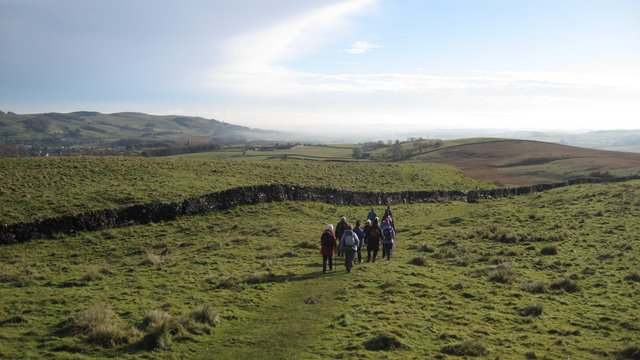
 Stunning scenery..
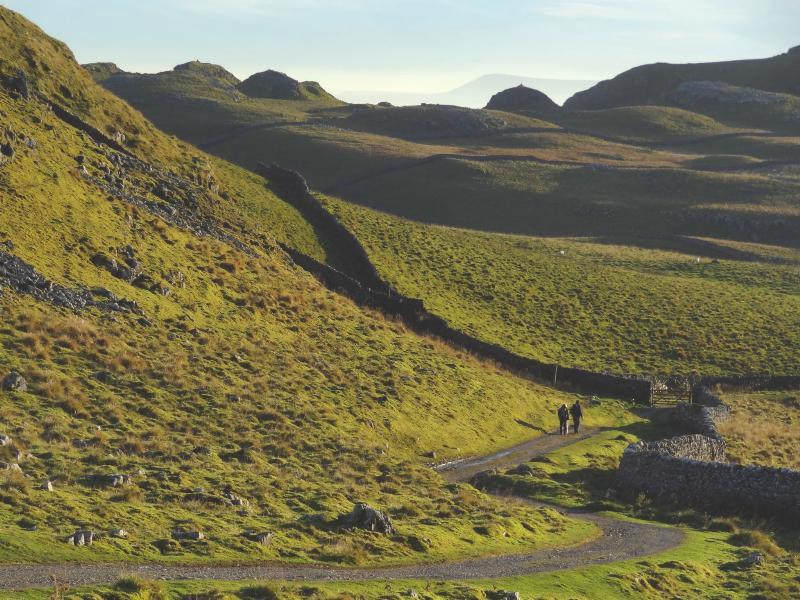 ..beautifully lit..
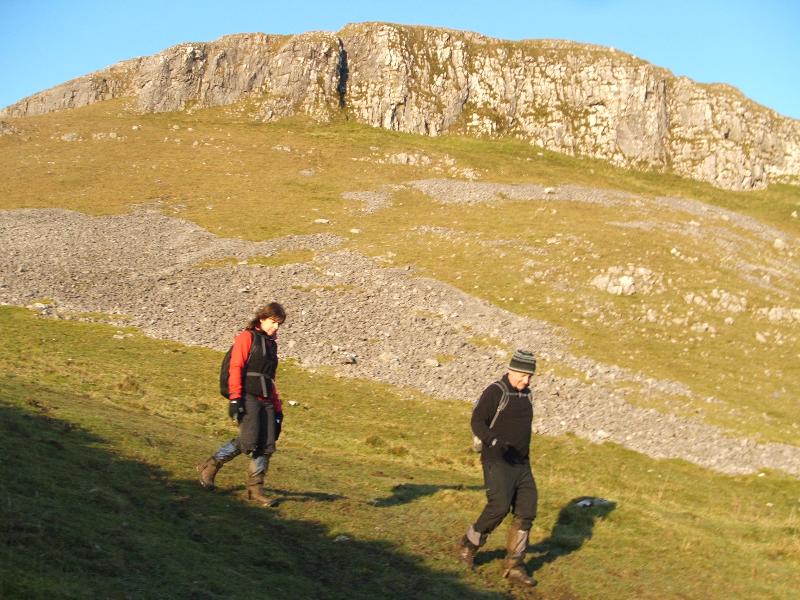 by the low evening sun.
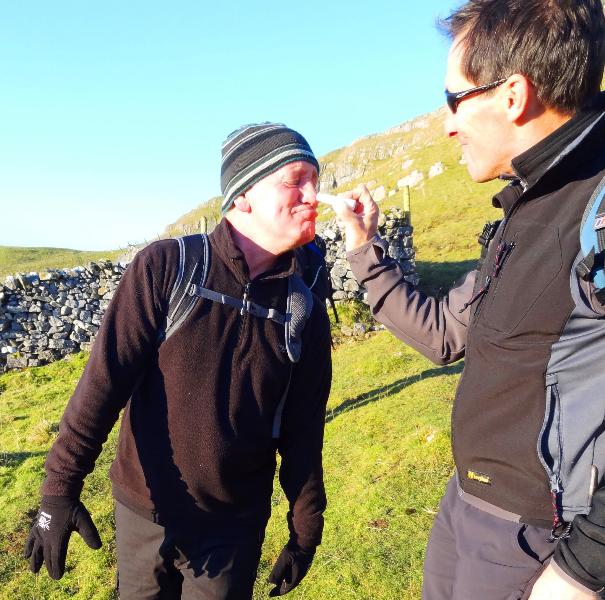 Ahh Bless
After splitting from the As, the B+ walk
 continued along the pass
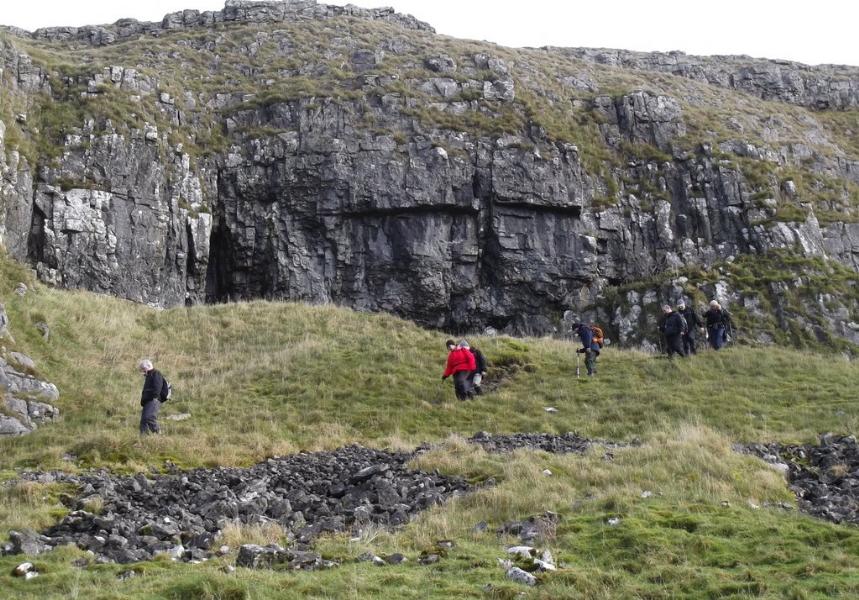
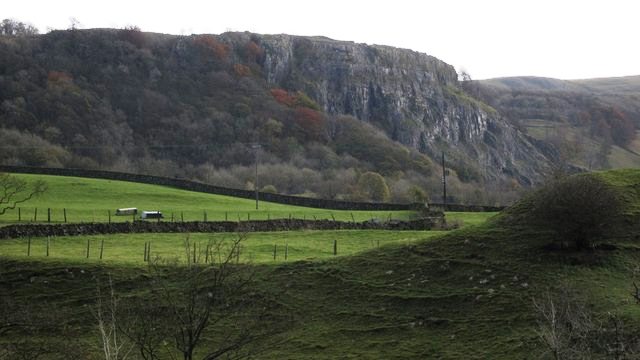
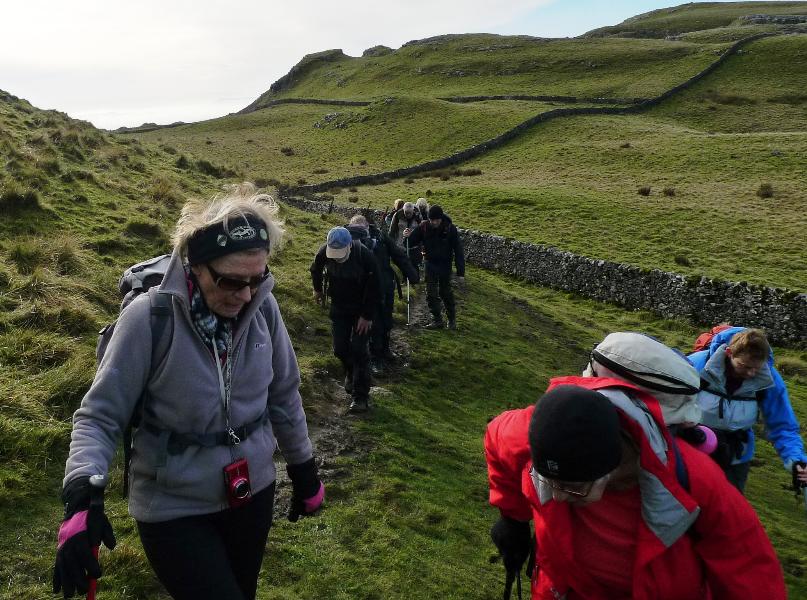 by Attermire Scar
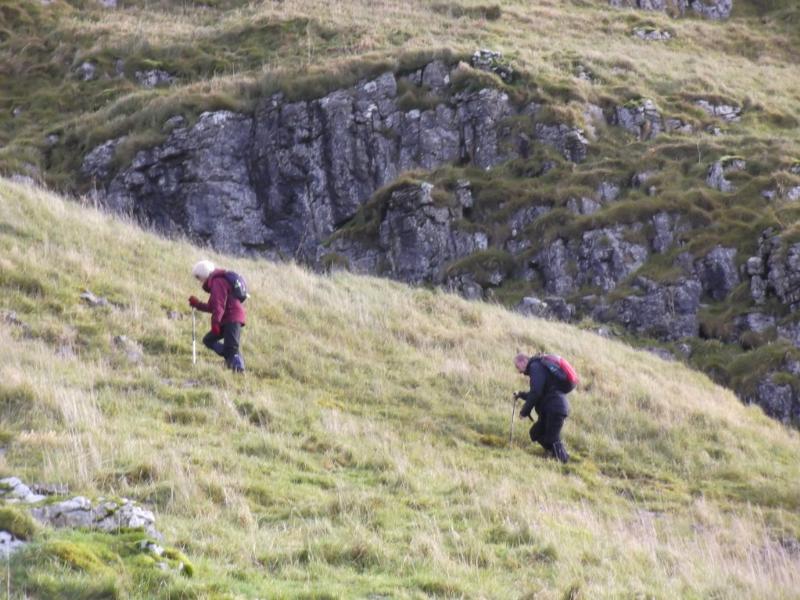 and up to
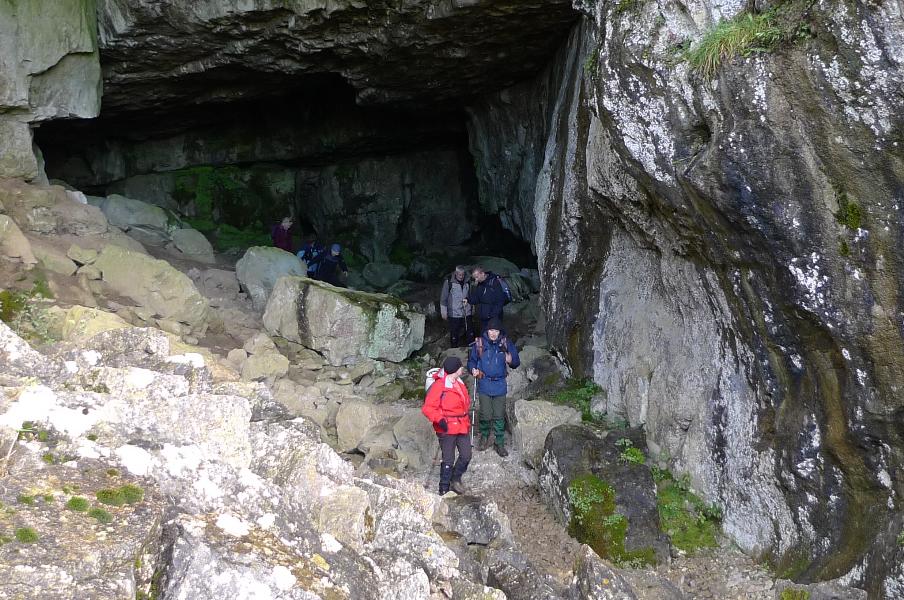
 Victoria Cave
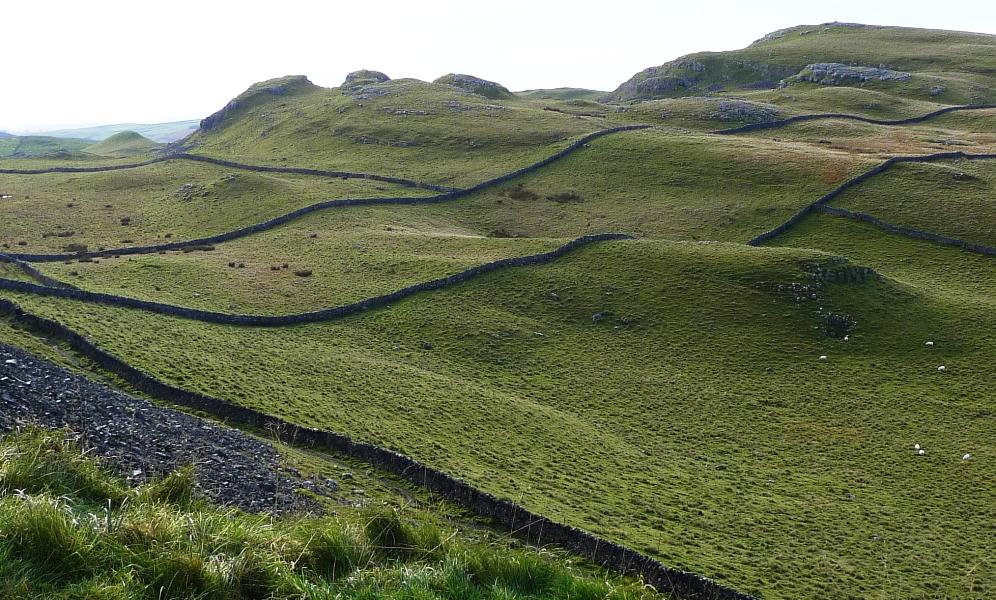 A cave with a view
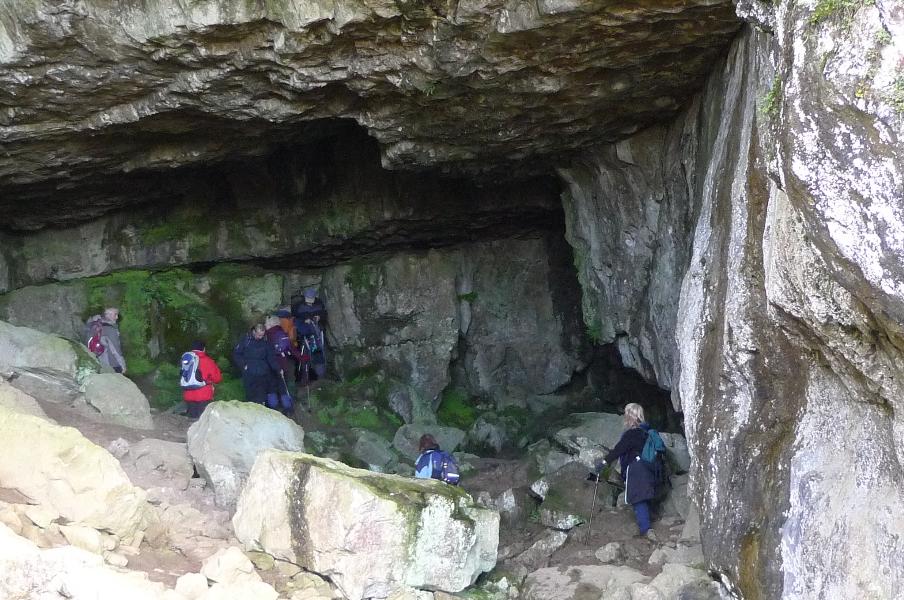
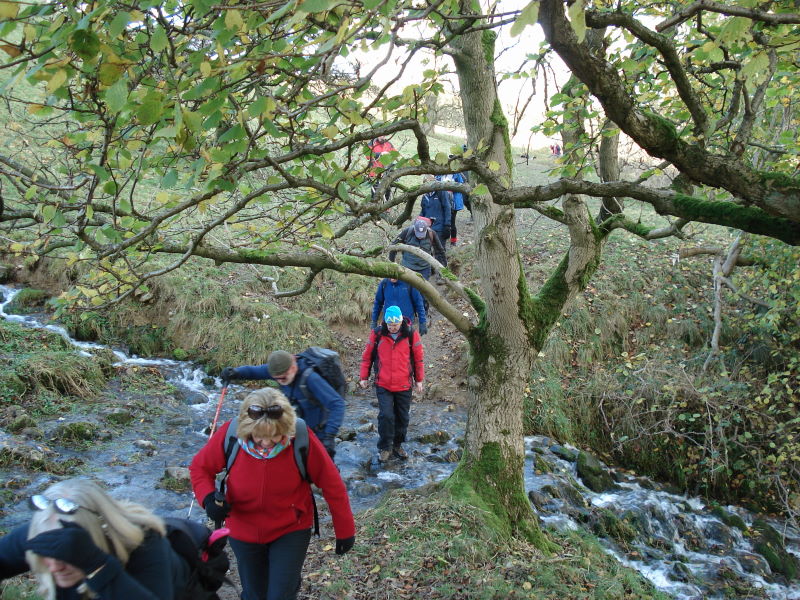
 Looking for a crossing over Cowside Beck
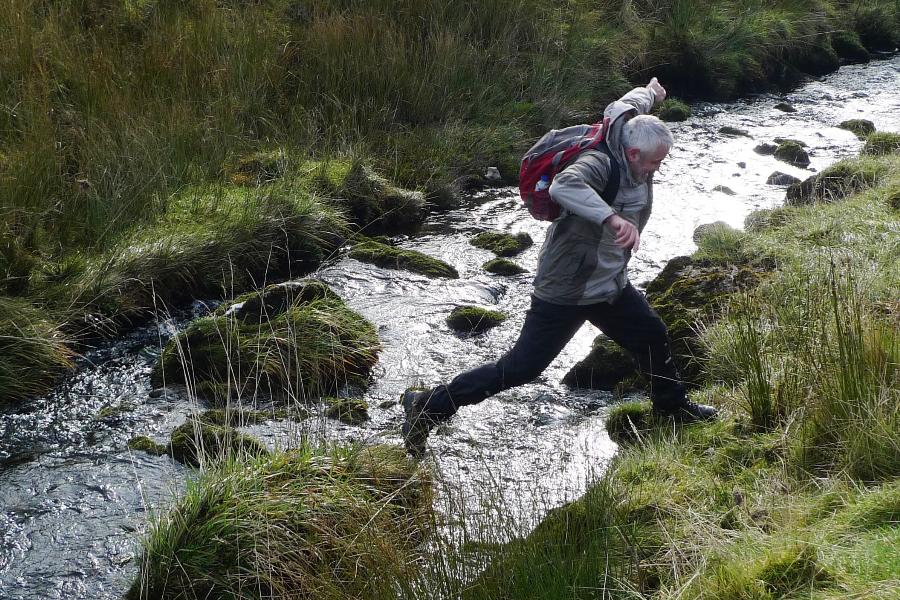 No problem for the athletic. .
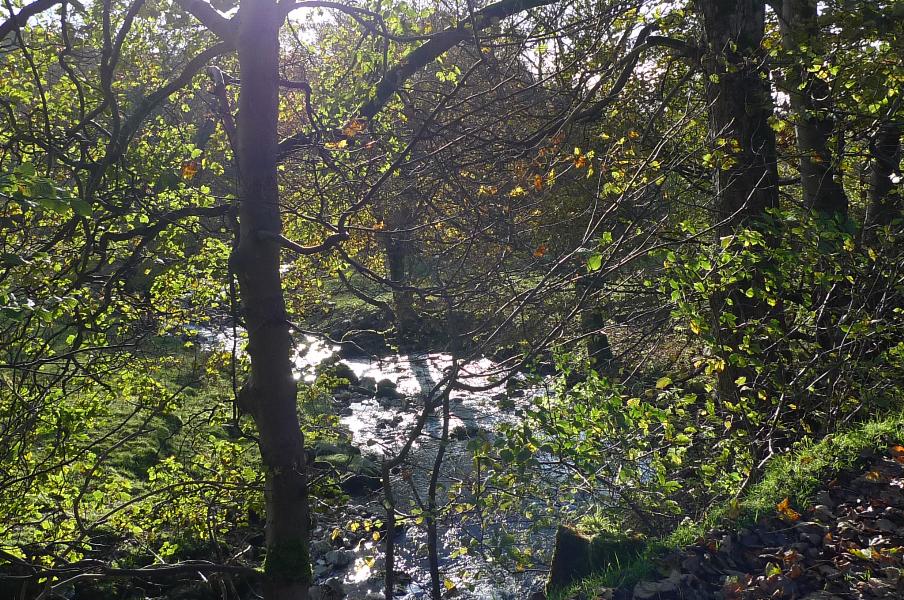
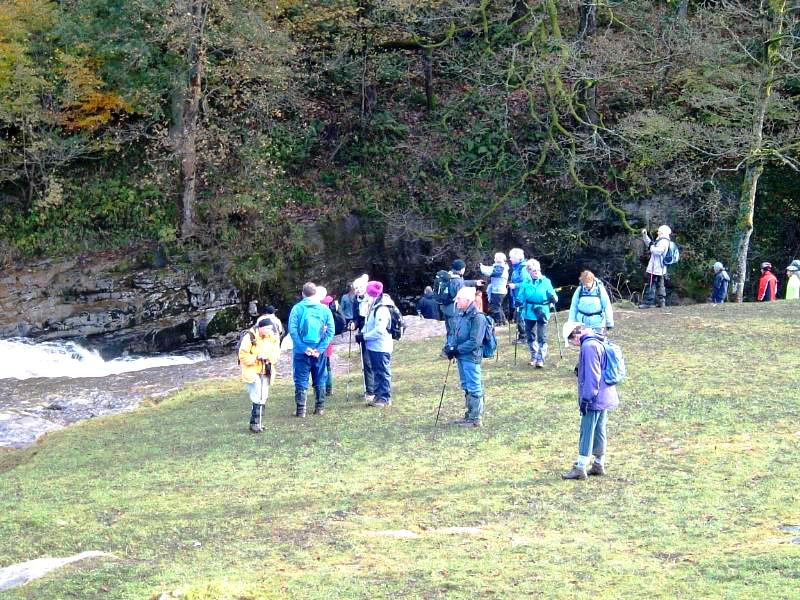
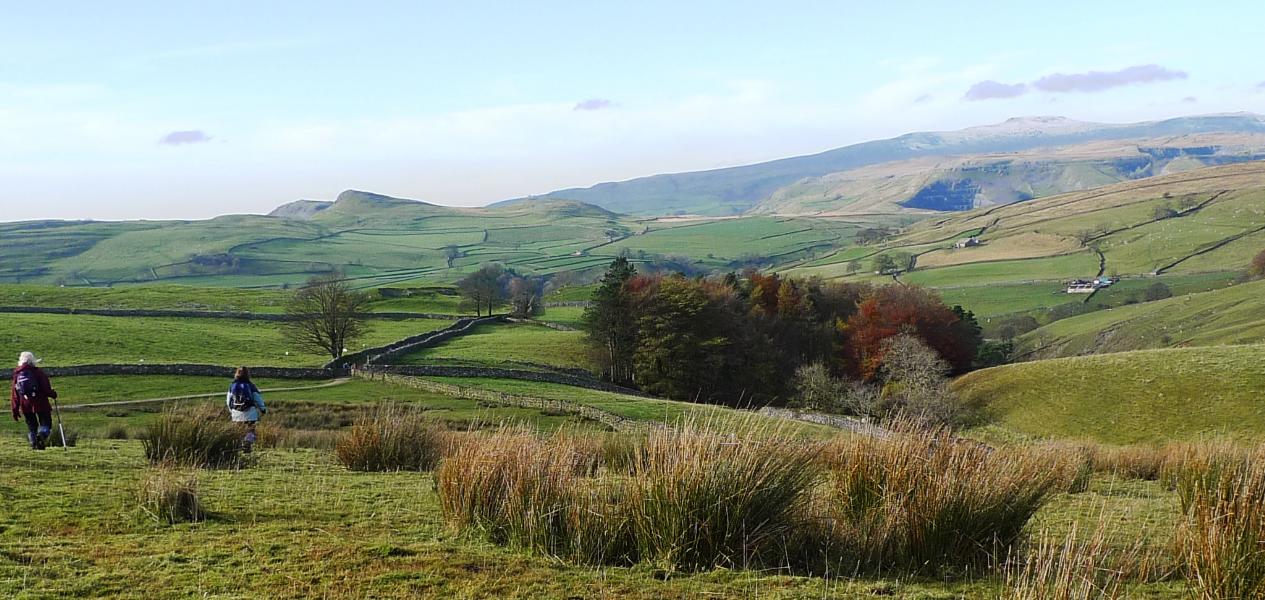 Approaching Catrigg Force, hidden in the trees
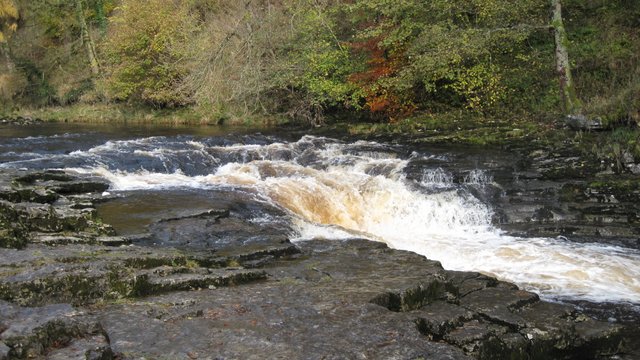
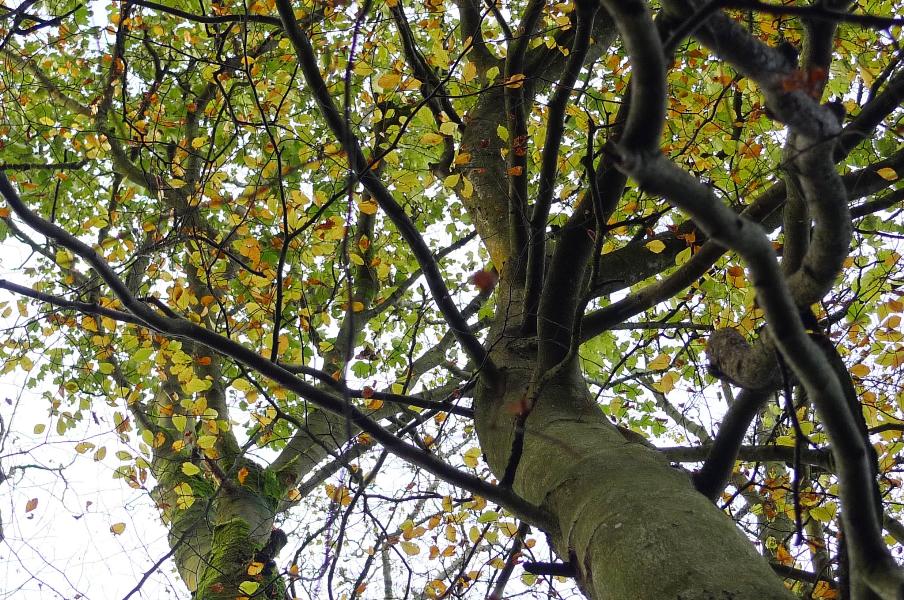
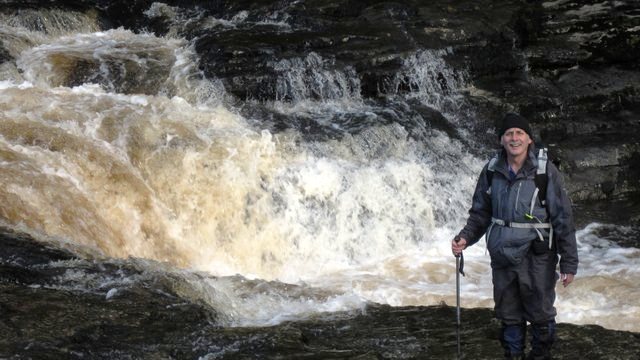
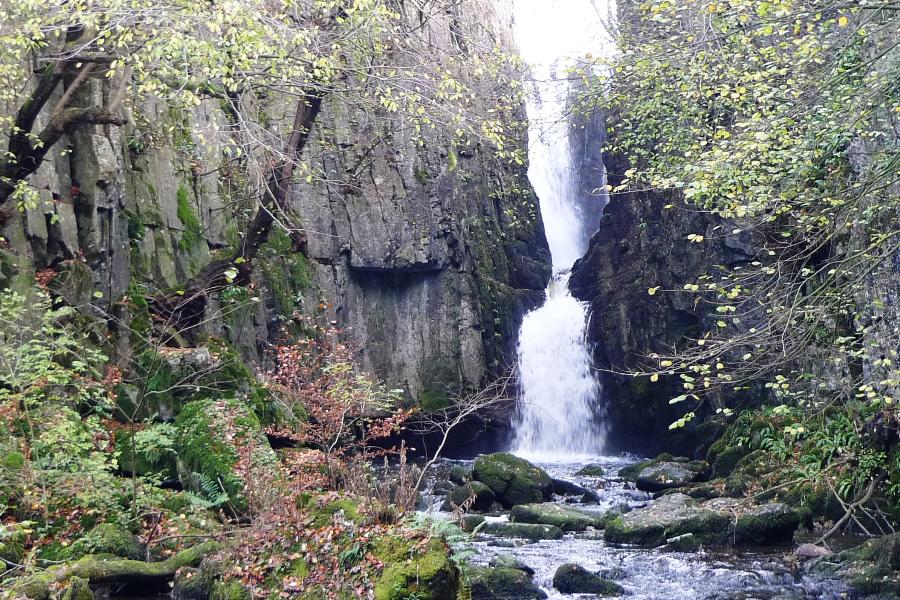 Catrigg Force
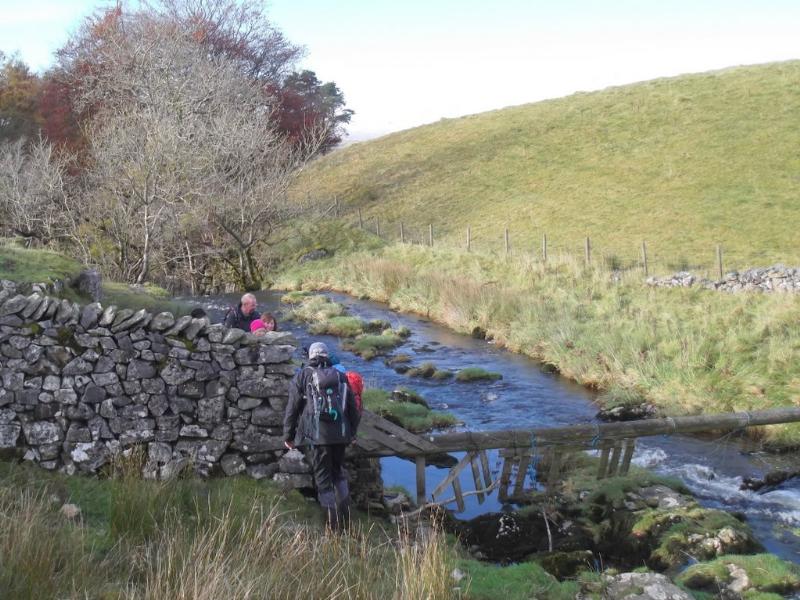 Catrigg Beck above the falls (best not fall in!)
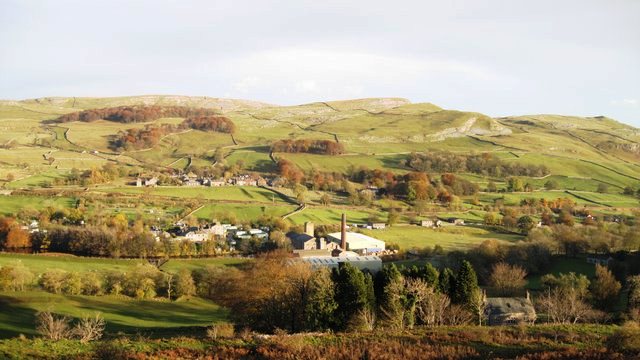
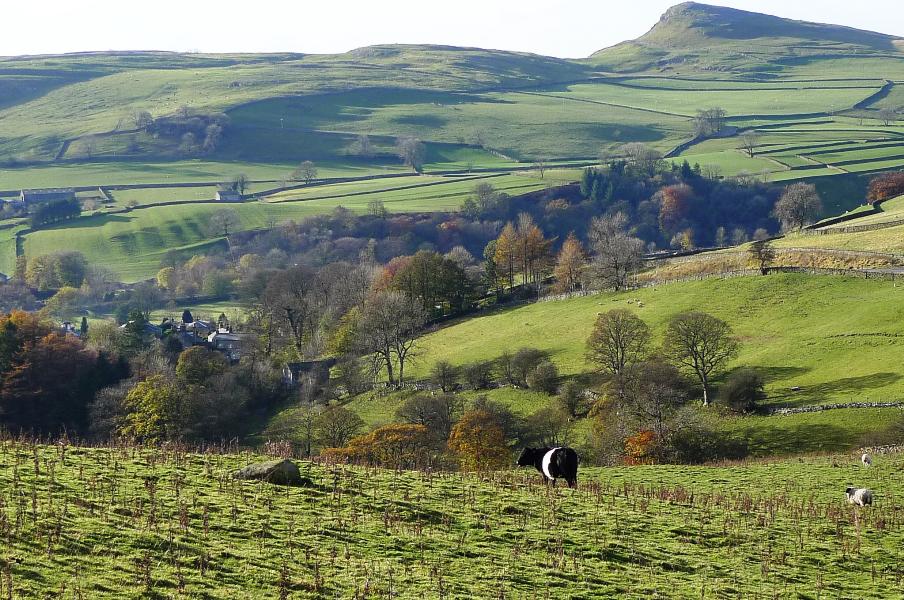 Looking down into Stainforth
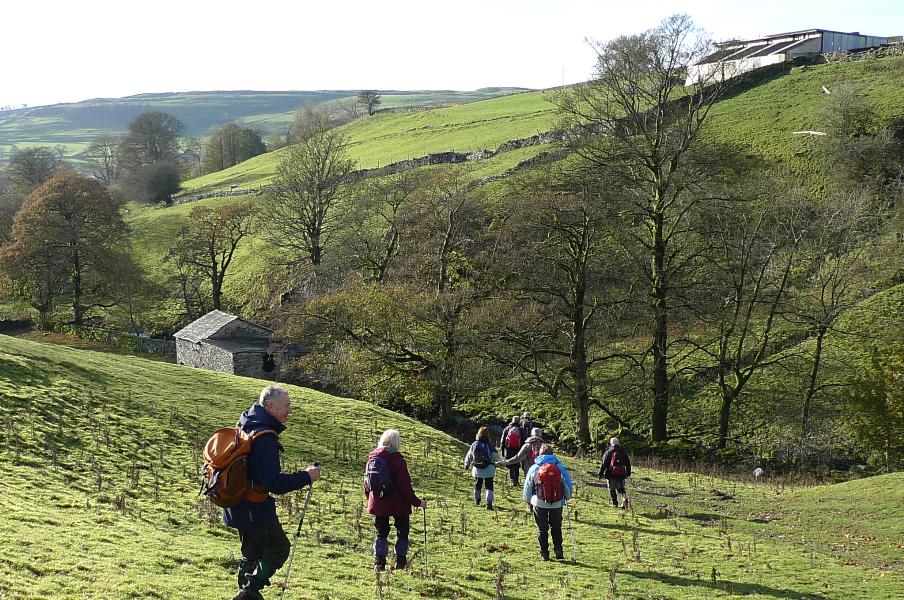
 Catrigg Beck again
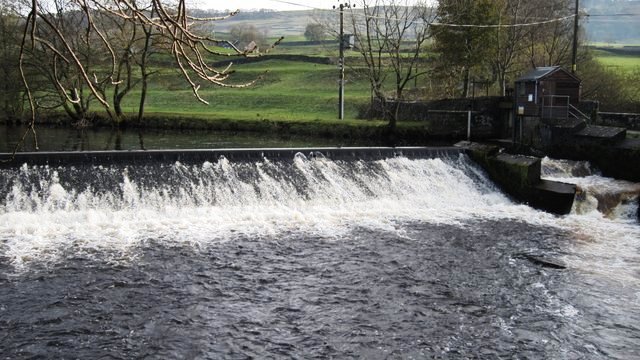
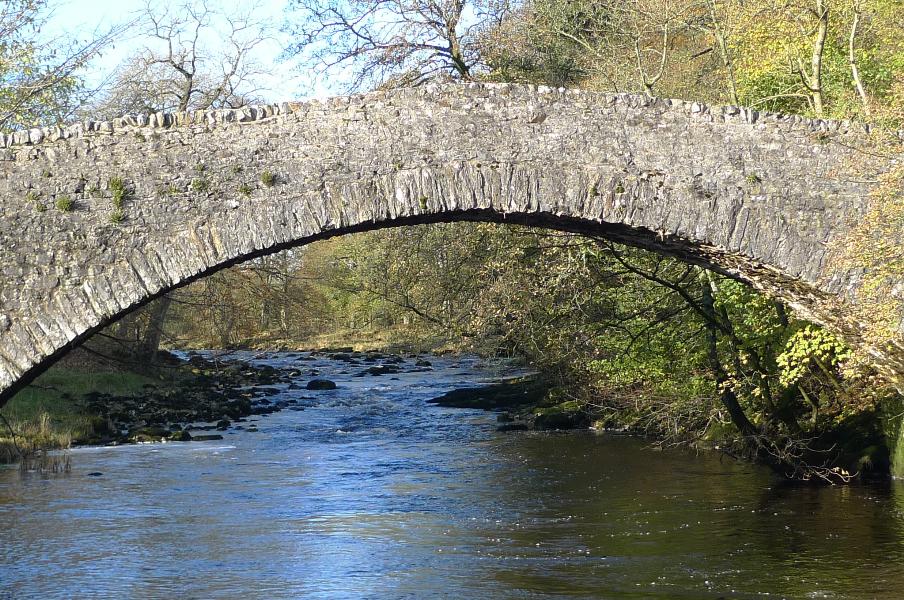 Stainforth Bridge..
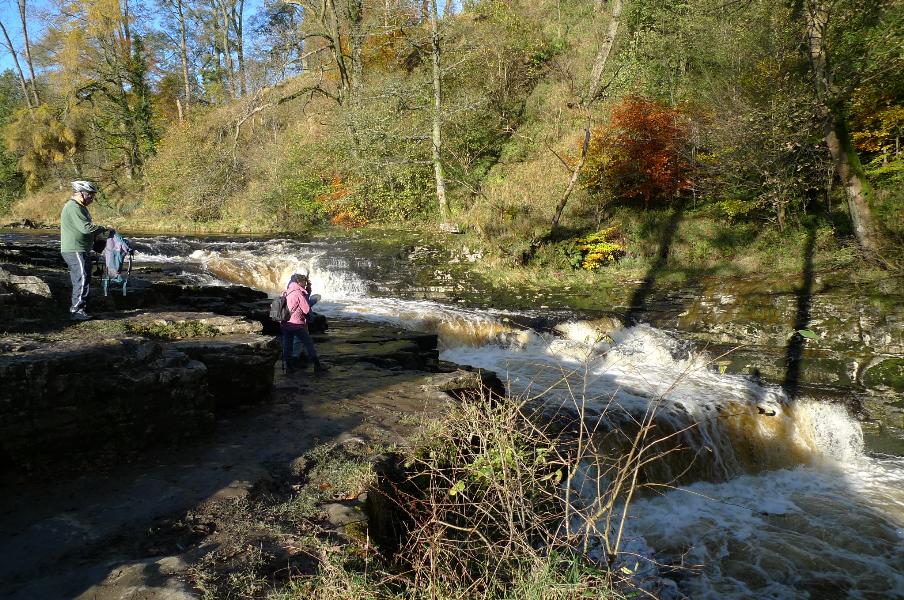 .. and Force
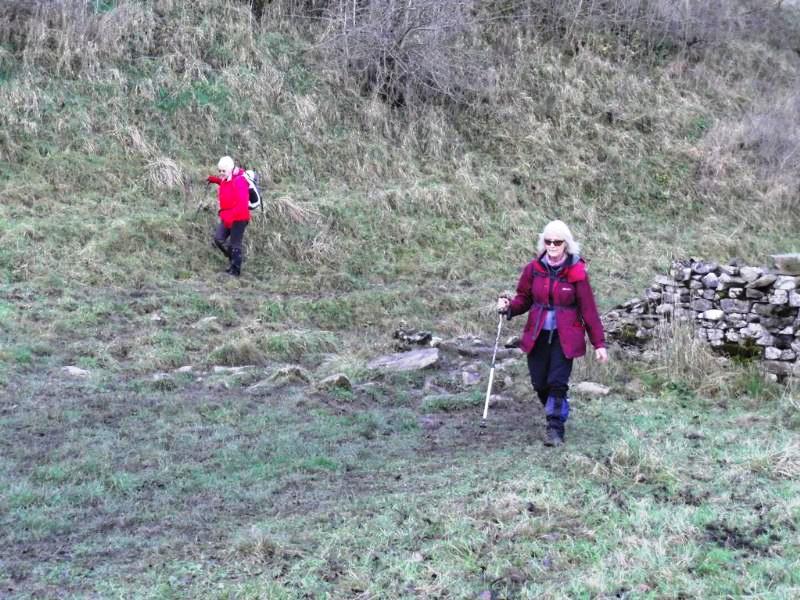 The Ribble Way back to Settle was very muddy
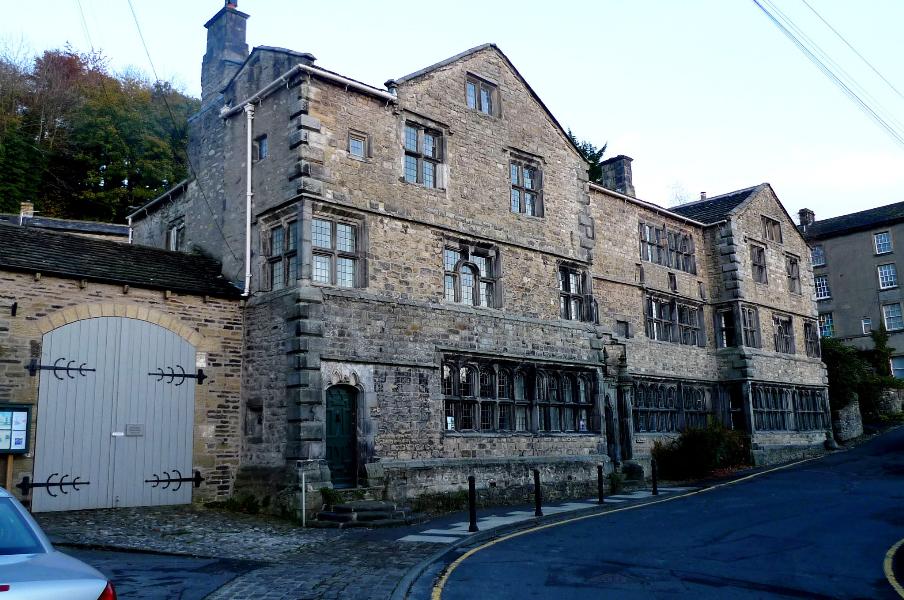 The 17th century "Folly" in Settle
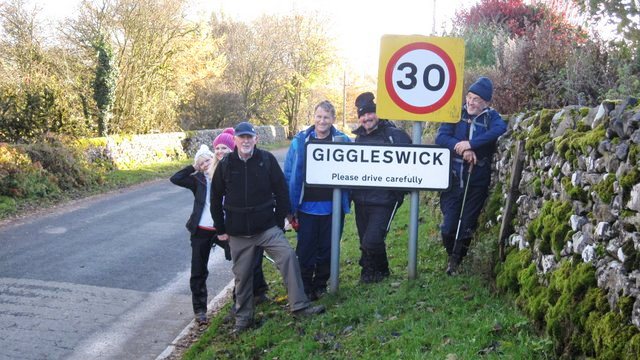
 The B- group started with a climb up to Giggleswick Scar, then to the hamlet at Feizor, a diversion to the top of Smearsett Scar, then on to Stainforth Force waterfalls, and a (muddy) meander along the R. Ribble to Settle
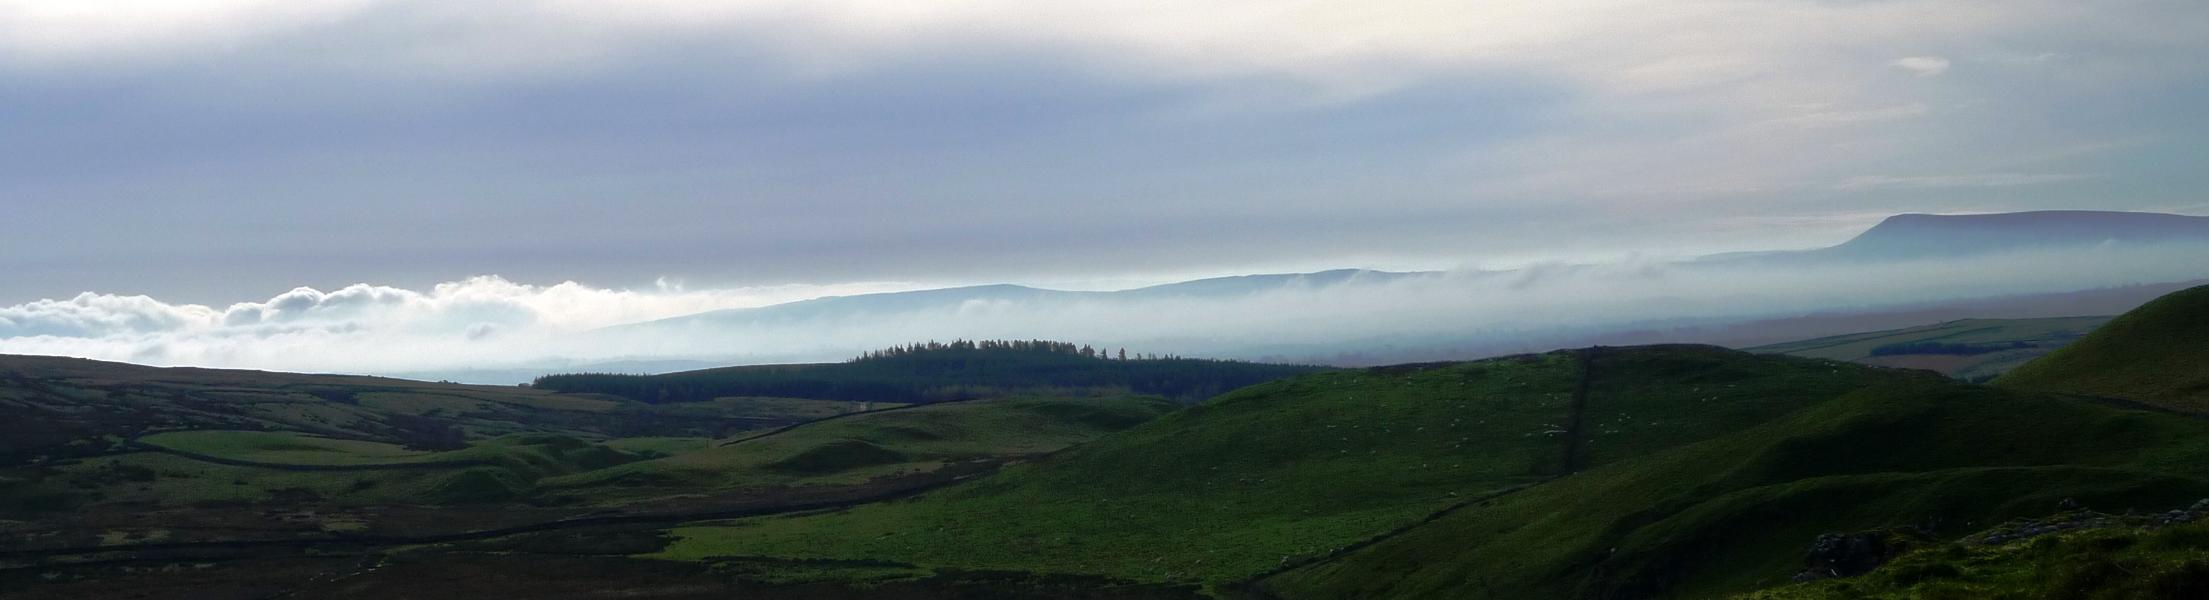
.jpg) Misty view from Giggleswick Scar
Misty view from Giggleswick Scar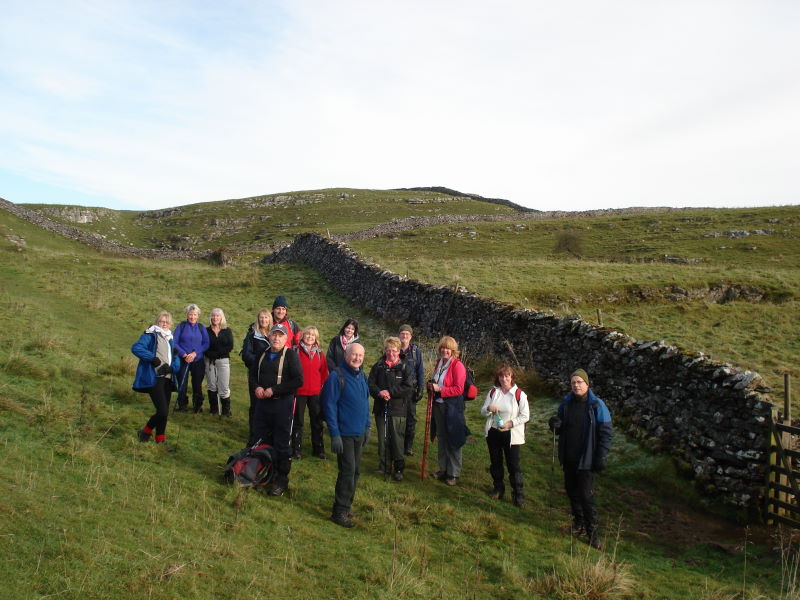
.jpg) The tempting tea-house at Feizor..
The tempting tea-house at Feizor..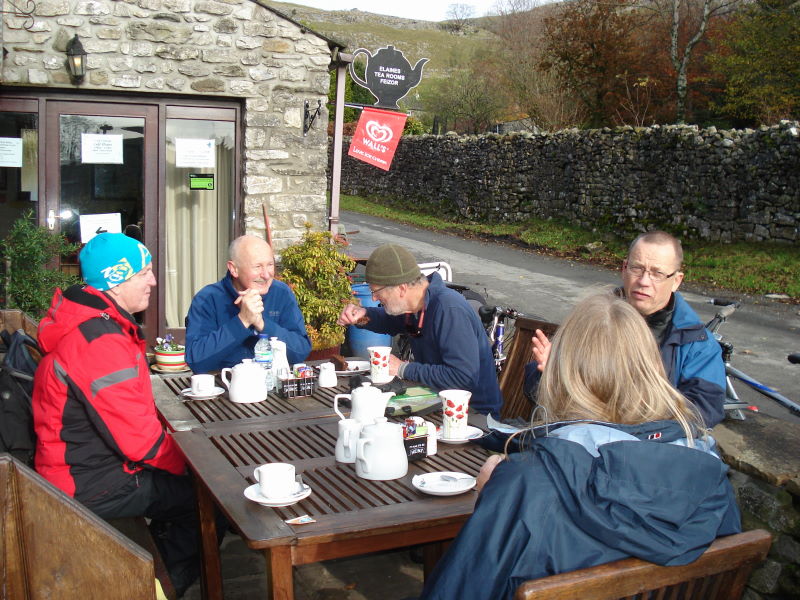 .. was not resisted!
.jpg) Across the moors..
Across the moors..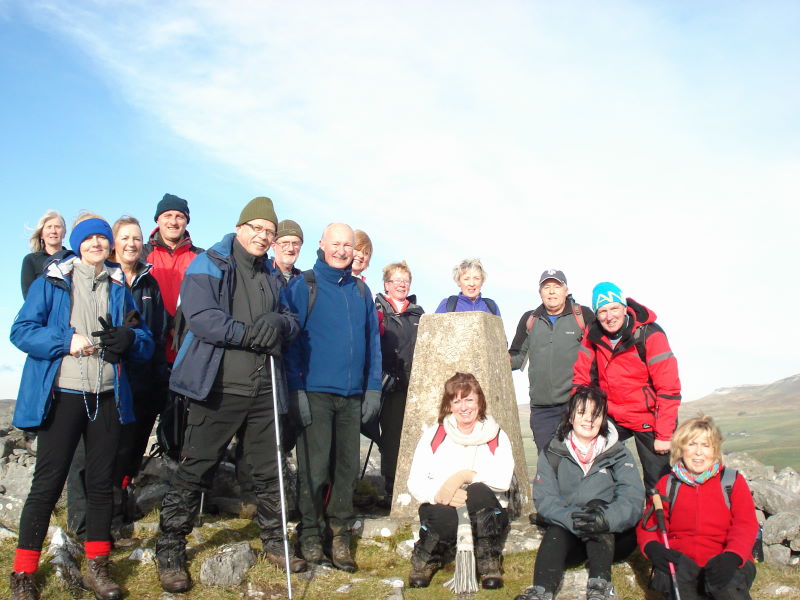 ..to Smearsett Scar
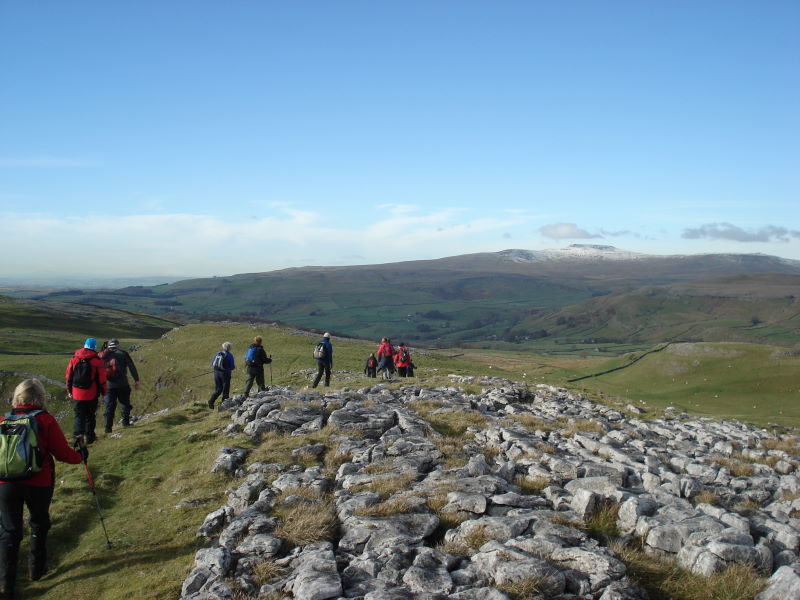 and on ..
.jpg) .. to Stainforth Force
.. to Stainforth Force.jpg)
.jpg)
.jpg)
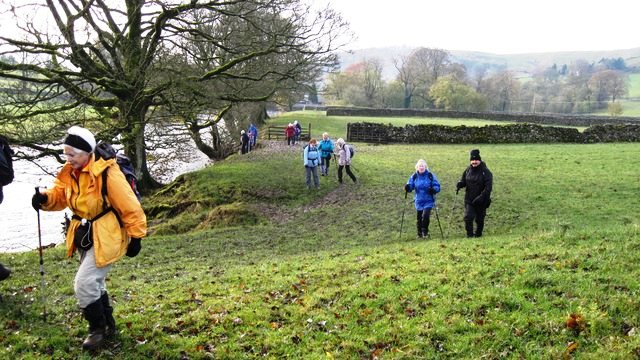
 Ribble way
The 'C' followed the River Ribble to Stainforth , before Heading up onto the Scar to the west for the views of Ribblesdale, returning to Settle via Giggleswick.
 "Derrière moi -- Le Déluge!"
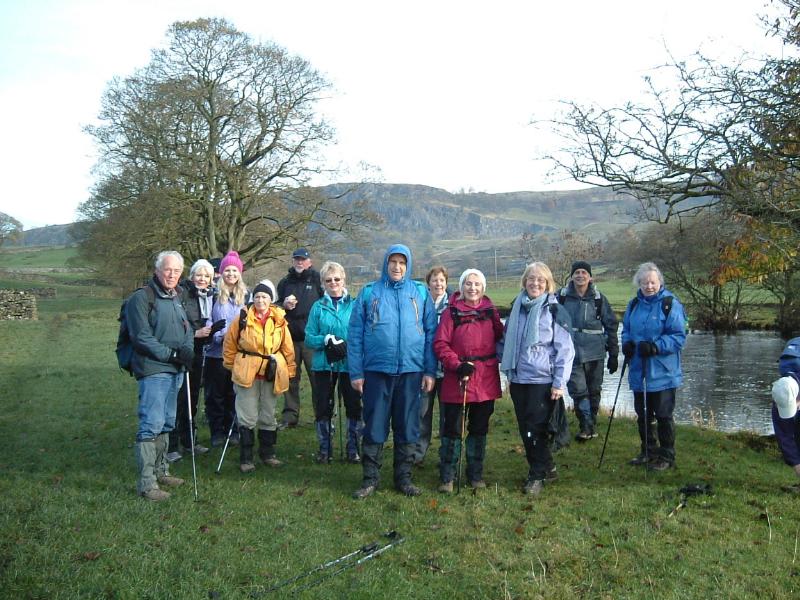
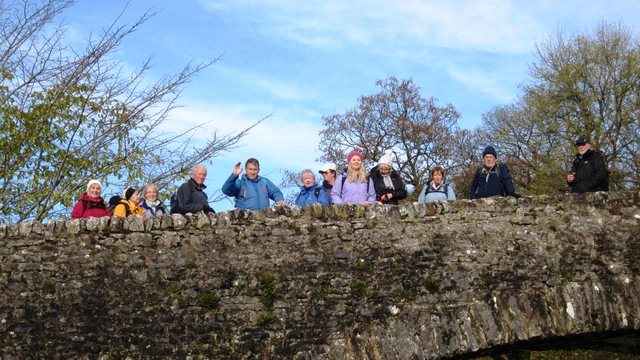 The obligatory bridge group portrait
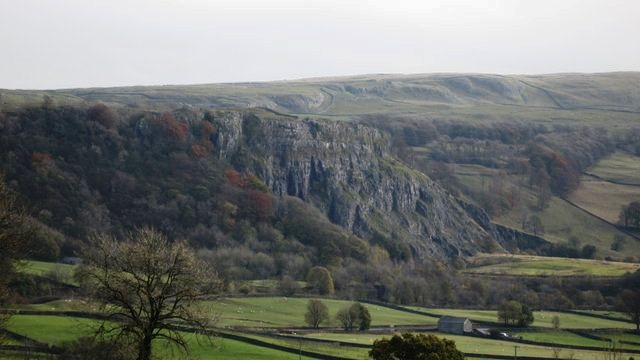

And finally...
Photos by Bob Jackson, Diana Young, Phil Cunningham, Derek Hesketh, David Whitehurst, John Hodgson, Jeremy Haworth and Colin Jacobs